How to pack artwork for moving
It’s finally time for the big move. You’re feeling excited, a little nostalgic, and a teeny bit scared. You go through the checklists in between calming breaths and come across your artwork. Your beautiful, precious artworks that have lit up all the rooms they’ve graced. But how do you pack them to ensure that they’re protected during the move?
Firstly, you will need these items:
- Markers
- Cardboard boxes of various sizes
- Painter’s tape
- Packing tape
- Acid-free packaging paper
- Bubble wrap
Once you’ve got them, simply follow these eight steps below, and before you know it, you’ll have your pride and joy all packed up and ready to go!
1. Box artwork according to size
Separate your artwork according to size. Small-to-medium-sized artwork may be packed together, and larger pieces packed separately. When packing artwork, remember to use boxes that are just a little bigger than the artwork frame/s.
Artwork can either be packed in specialty boxes (available at truck rental agencies or moving supply stores) or used boxes that have been flattened out.

2. Tape an “x” across the glass
If the frames on your artwork have glass coverings, place painter’s tape across the glass in the shape of an X. Doing so strengthens the glass and absorbs shock, thus preventing the glass from completely shattering and moving around too much should it break during the move.
3. Cover the artwork’s face
If your artwork doesn’t have protective glass coverings, wrap them in a few layers of kitchen plastic wrap or pallet wrap.
4. Wrap artwork in packaging paper and bubble wrap
Use a flat surface to lay out a piece of acid-free packaging paper that is twice the size of the artwork frame. (It is best to use acid-free packaging paper rather than newspaper as the former prevents ink transfer.) Then, lay the frame glass side down on top of the paper and wrap it as you would a present.
Next, wrap the packing tape all around the frame such that both the length and width of the frame are covered. Apply the same steps to secure the frame in bubble wrap.
When packing small photos and frames in a single box, wrap them individually in packaging paper to ensure that the glass remains in place during transit. You can opt to purchase cardboard corner protectors to afford your frames additional protection.

5. Test boxes for movement
Before sealing the boxes, test each one for movement. This can be done by closing each box and wiggling it about. If the artwork shifts, add crumpled newspaper for padding.
6. Seal the boxed artwork
With specialty boxes, begin the sealing process by taping the one side closed. Next, position each box on its sealed end and gently slide the artwork in.
If you’ve used flattened boxes instead, place each frame on top of its chosen box and secure it with packing tape. If the box is large enough, bend it around the frame and use tape to secure it.
If a box doesn’t wrap around a frame, you can either cut it into individual pieces or take apart another box and use it to protect the exposed side of the frame.
7. Label boxes accordingly
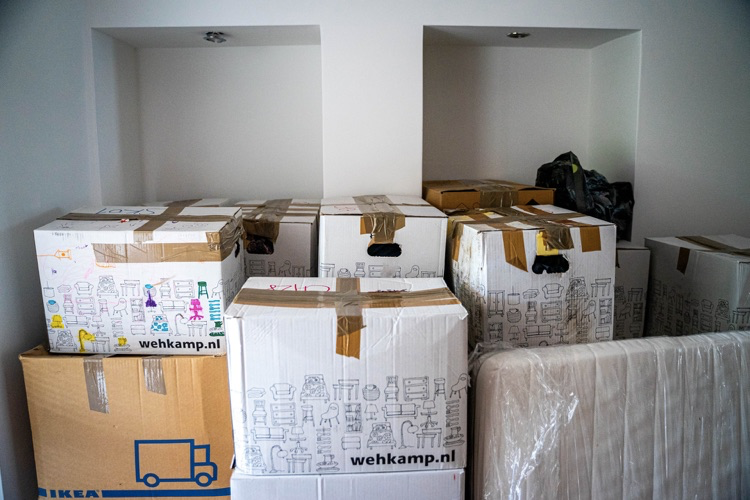
Boxes should be labelled on both sides. In addition to being labelled as “Fragile”, each box should also state its contents and location (eg: bedroom, study, etc).
8. Arrange the boxes in the truck
When loading packed boxes onto the moving truck, position them on their sides (rather than flat) as this allows for the artwork to absorb pressure easier.
Remember to place the boxes in a place where they won’t shift during transit or be crushed by heavy objects. It is a good idea to rather wedge the boxes between heavy objects.


